Epoxy for Bathroom Bolt Replacement
This is a quick usage of epoxy to put new bolts into a tiled bathroom floor. This is a small project, but these tips/techniques can apply to larger usage of the epoxy.
Overview
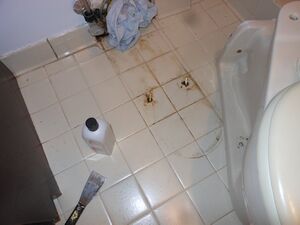
The toilet has four bolts. Two on the back, and two on the bottom. The two bottom bolts have rusted out over time. The two back bolts are still intact. The goal will be to remove the toilet from the floor, drill new holes into the floor, set new bolts in epoxy, let them cure overnight, then reattach the toilet to the room and plumbing.
Concerns:
- The old bolts will be rusted, only until they go into the floor, at which point they will be solid bolts.
- Replacement of the tile is not practical.
- The new bolts must be set in epoxy strong enough to keep the toilet from moving.
Items Needed
- Two Part Epoxy (Part A is base resin. Part B is hardener)
- Acetone (cleanup)
- Brass nuts and bolts of appropriate length
- Washers of appropriate size
- Wax Ring
- Basic tools for removal of toilet (wrench, screwdriver).
- A place to store the toilet while its not being used.
Work Log
Removal of toilet.
The removal of the toilet here is relatively easy. It required a flat head screwdriver (for tank bolts) and a rachet set to hold the bolt stead. There are also the drain bolts which require pliers or a wrench. The trickier part is putting it back together, without a leak.
Preparation
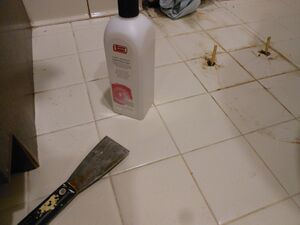
The area was cleaned. This toilet has the drain at the back, so the bottom was cleaned with bleach and water. Because the drain is on the back, it lacks the natural seal on the wax ring from gravity from vertical drain toilets. In this author's opinion, vertical drain toilets seem a better fit.
Items required were purchased from the hardware store. This job required at least:
- Brass bolts
- Brass nuts
- stainless or brass washers
- Two Part Epoxy
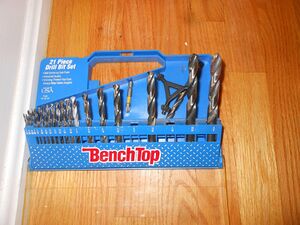
And you should have some basic tools, including a hand drill, and drill bits. The plan will be to drill a hole into the ceramic tile, fill the hole with epoxy, let cure, then do at least one more layer of epoxy after the first.
Buy different lengths of bolts. I bought 1.5" and 2". I ended up using the 2". What length to use will depend upon your floor. Also measure the toilet tank bolt hole diameter, and do not buy a bolt bigger than what will fit through the toilet!
Drilling into Tile
Drilling into tile is easy. The old bolts were still in the tile. I did not remove those, but drilled adjacent to them. Ideally I would've drilled through the old bolts (which were only rusted on top) but this proved too difficult without a drill press to stabilize. I ended up angling the bolts slightly, and tested a fit beforehand to confirm that it would work, by placing the toilet over the bolts which were blue taped into position.
Epoxy Layering
After placing the bolts, and mixing / pouring the two part epoxy, I used blue tape to hold the bolts in proper position. After at least 12 hours (I waited overnight) the bolts were checked, confirmed to be firm and then I gambled. I poured the next layer of mixed epoxy onto the base of the bolts, and then placed the toilet back on, while the bolts were still curing. I do not recommend this, but due to time constraints, I wanted to get the toilet back into working order.
By carefully placing the toilet, as to not break the first epoxy bond, I was then ready to re-assemble the toilet, and let the 2nd layer of epoxy fully cure. I waited again, overnight.
It should be noted that when placing the first layer of epoxy in the tile, and its subfloor (likely hardy board), that much of the first layer soaked into the subfloor. This was another reason for the 2nd coat. I wanted to ensure the bolts did not come loose. They were cured into the tile, but the left bolt was less so than the right. A 2nd layer, ensured the epoxy was set.
replacement of toilet
wait for full cure (at least overnight)
attachment of washer + nut
tighten 'handtight', then finish with a few turns (not too many) with wrench.
cleanup
job complete


