Epoxy for Bathroom Bolt Replacement
From Advance Coatings Wiki
This is a quick usage of epoxy to put new bolts into a tiled bathroom floor. This is a small project, but these tips/techniques can apply to larger usage of the epoxy.
Overview
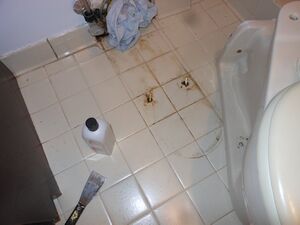
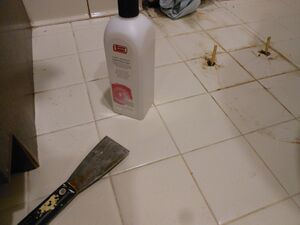
The toilet has four bolts. Two on the back, and two on the bottom. The two bottom bolts have rusted out over time. The two back bolts are still intact. The goal will be to remove the toilet from the floor, drill new holes into the floor, set new bolts in epoxy, let them cure overnight, then reattach the toilet to the room and plumbing.
Concerns:
- The old bolts will be rusted, only until they go into the floor, at which point they will be solid bolts.
- Replacement of the tile is not practical.
- The new bolts must be set in epoxy strong enough to keep the toilet from moving.
Items Needed
- Two Part Epoxy (Part A is base resin. Part B is hardener)
- Acetone (cleanup)
- Brass nuts and bolts of appropriate length
- Washers of appropriate size
- Wax Ring
- Basic tools for removal of toilet (wrench, screwdriver).
- A place to store the toilet while its not being used.
Work Log
(temp notes)
toilet removed
area cleaned
items purchased
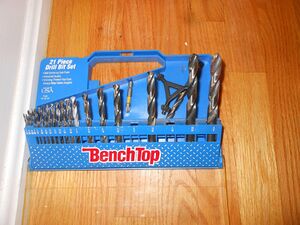
holes drilled in floor
measurement of bolts (determined 2" bolts, not 1.5" were necessary)
first cure of epoxy (clean any overpour with acetone)
testing of bolts for strength
second cure of epoxy (some soaked in below tile, during first cure)
replacement of toilet
wait for full cure (at least overnight)
attachment of washer + nut
tighten 'handtight', then finish with a few turns (not too many) with wrench.
cleanup
job complete


